Kata Bella Logo

Info

Getting Married in Lovely Denmark: A Step-by-Step Guide (Part 1)

31 Dec 2024 by Bella

Getting Married in Lovely Denmark: A Step-by-Step Guide (Part 1) Image

The Background Story

Getting married in lovely Denmark, Why Not? I married my best friend a couple of months ago in the beautiful city of Copenhagen. As soon as I shared the happy news on Instagram, my DMs were flooded with congratulatory messages – as well as tons of questions haha! Since I’m not super active on my personal account, except when I travel, my 10 million followers were like, “Wait, I didn’t even know you had a boyfriend, and all of a sudden you’re married?!”. And among the most FAQs were:

  • “Why Copenhagen?”
  • “Is your husband Danish?”
  • “Why not in Indonesia?”

With “WHY COPENHAGEN?” being the top question lol. So, I thought I’d share some details about why we chose Copenhagen and how to get married there, especially for other mixed-nationality and mixed-religion couples (because, yes, sadly, it’s still a challenge in Indonesia when you’re of different faiths) – so here we go.

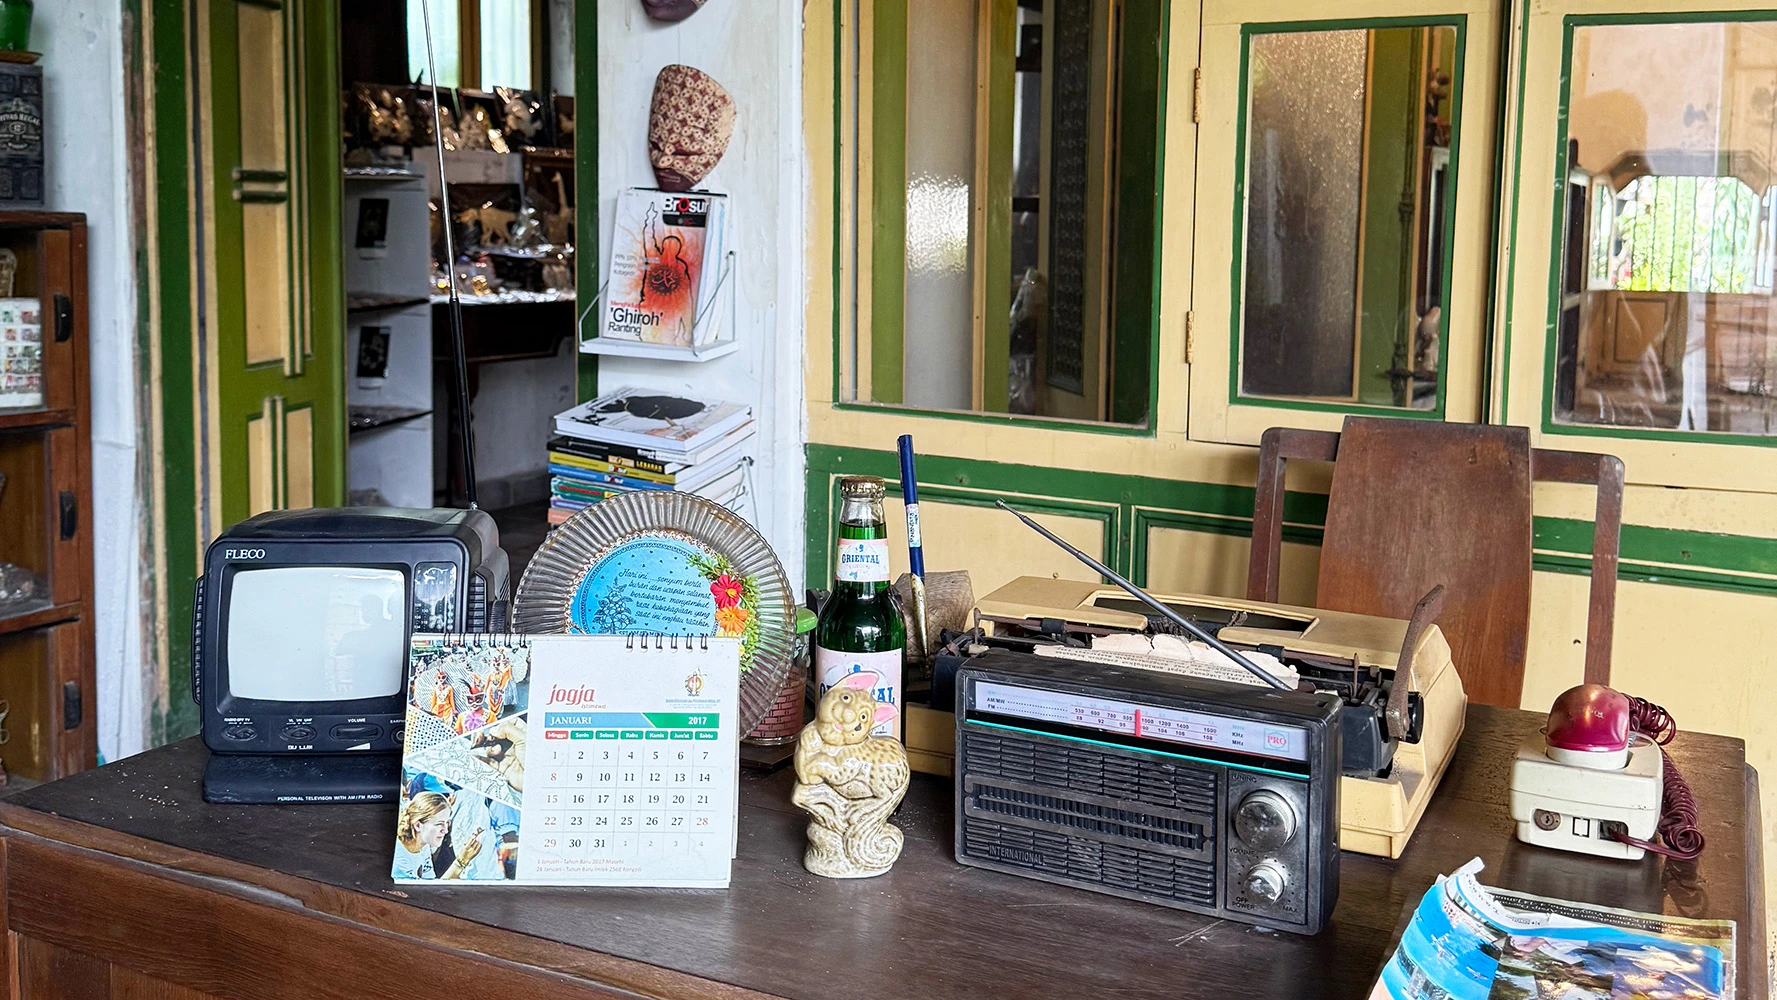
Other Article: Koyotake Ramen: Best Homemade Ramen in Yogyakarta | Home-Cooked Bowls of Love

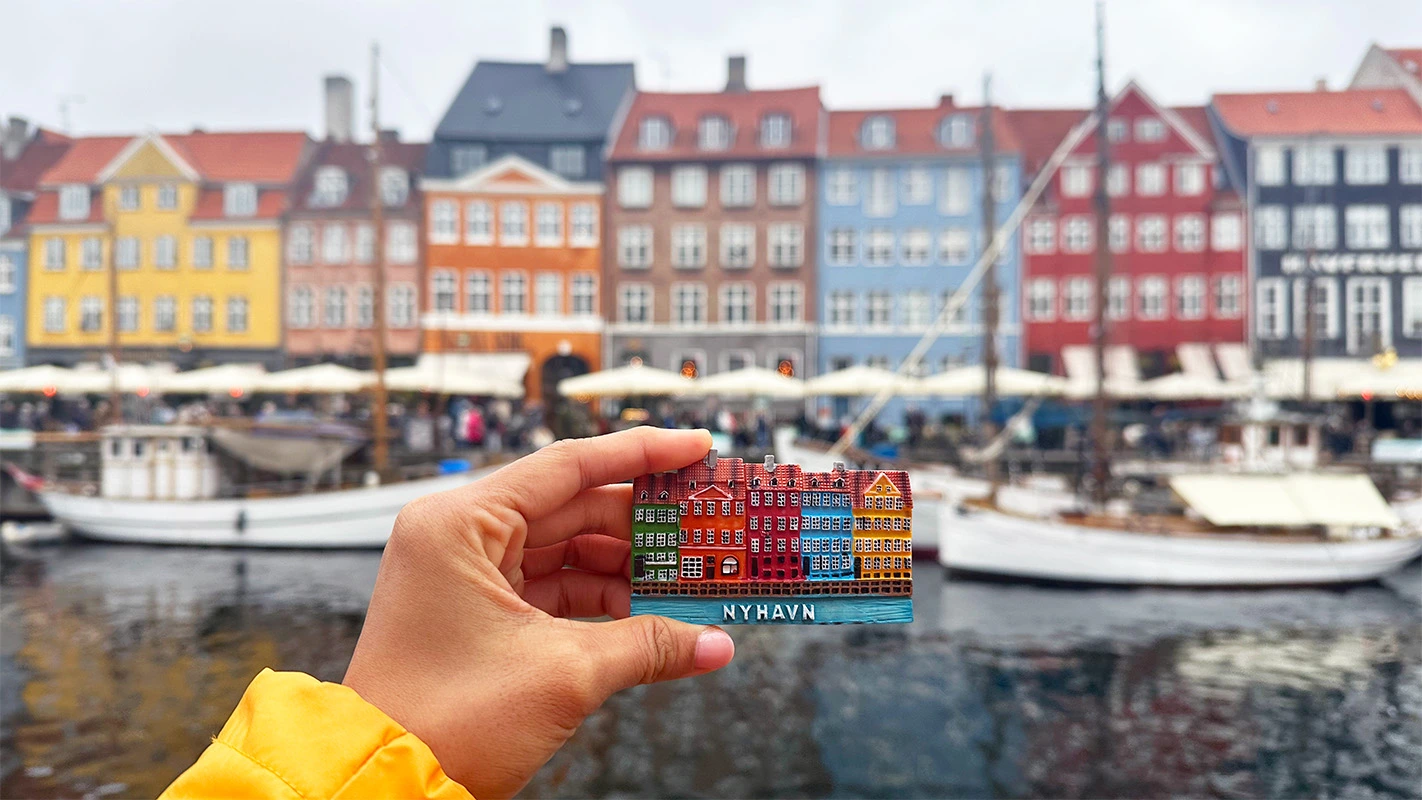
Why Married in Copenhagen 

The Danish government has a super liberal approach to marriage laws, allowing anyone from any country to legally get married there. If you need a visa to enter Schengen countries, a standard tourist visa will do. And if you’re one of the lucky ones who don’t need a visa, all you need is your passport – easy peasy lemon squeezy!

We ruled out Indonesia because the paperwork is just way too complicated. As for the UK, where my husband is from, that was also no-go. Getting married there would require a fiancé visa, which is not only pricey but also takes ages to process.

We actually found out about Copenhagen from an article my mother-in-law sent us on WhatsApp. And, in true Gemini fashion, I impulsively said, “Let’s do it!” – so we did.

Getting Married in Denmark

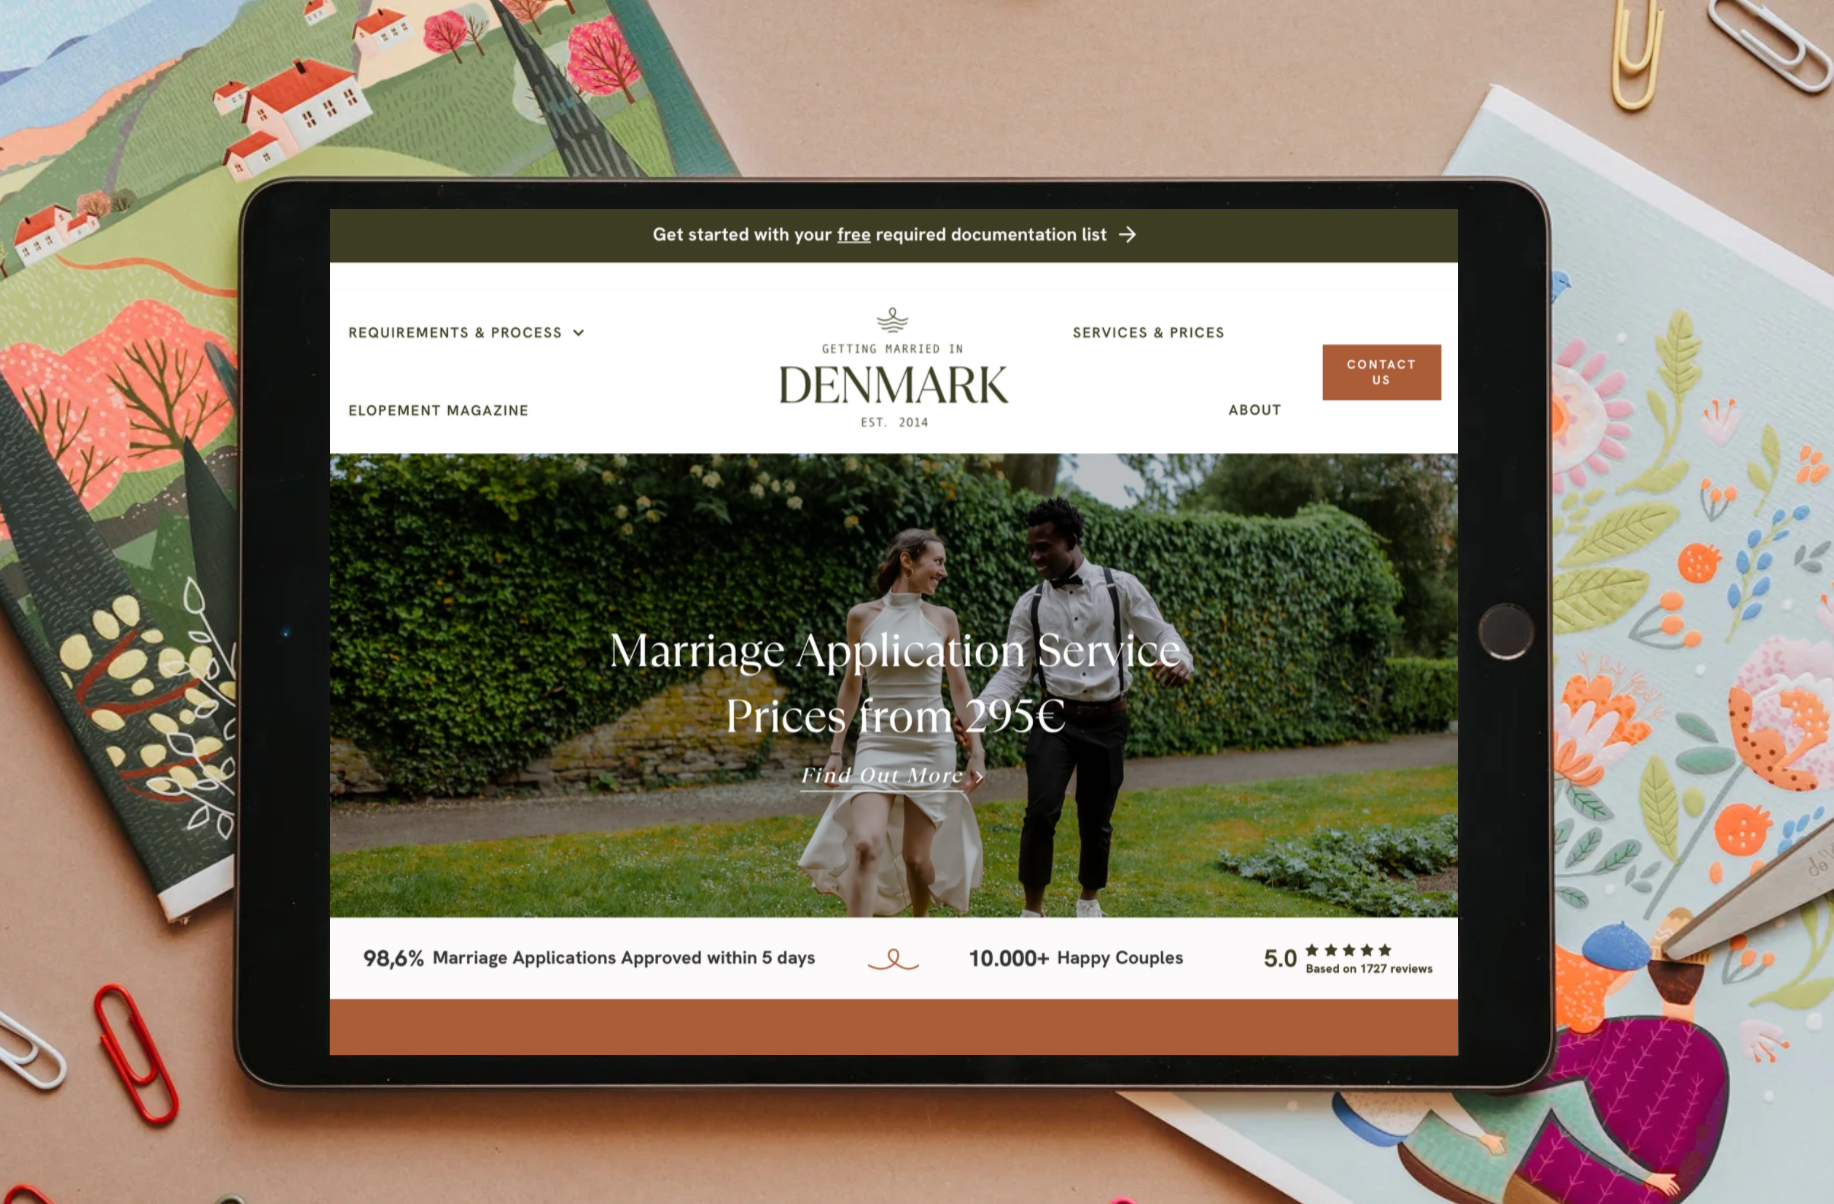
We worked with www.gettingmarriedindenmark.com, they are superstars!

The Wedding Agency in Denmark

Since we’re not exactly fans of admin work and are super busy with  work and daily jiu-jitsu training, we decided to hire an agency for the convenience, time-saving benefits, and better chances of approval (since they know what they’re doing!). We worked with Getting Married in Denmark.

All we had to do was send one email, and they were incredibly responsive. They even scheduled a video call to walk us through everything in detail. They took care of all our paperwork, making sure it met the Danish government’s standards, submitted everything on our behalf, and even booked our chosen city hall for the ceremony. They also offer other services, like document apostille, hair and makeup, flowers, etc. Basically, you can tailor everything to your preferences and needs. But since we were aiming for a super simple ceremony, we didn’t need any of those extras.

Getting Married in Lovely Denmark Documents Kata-Bella

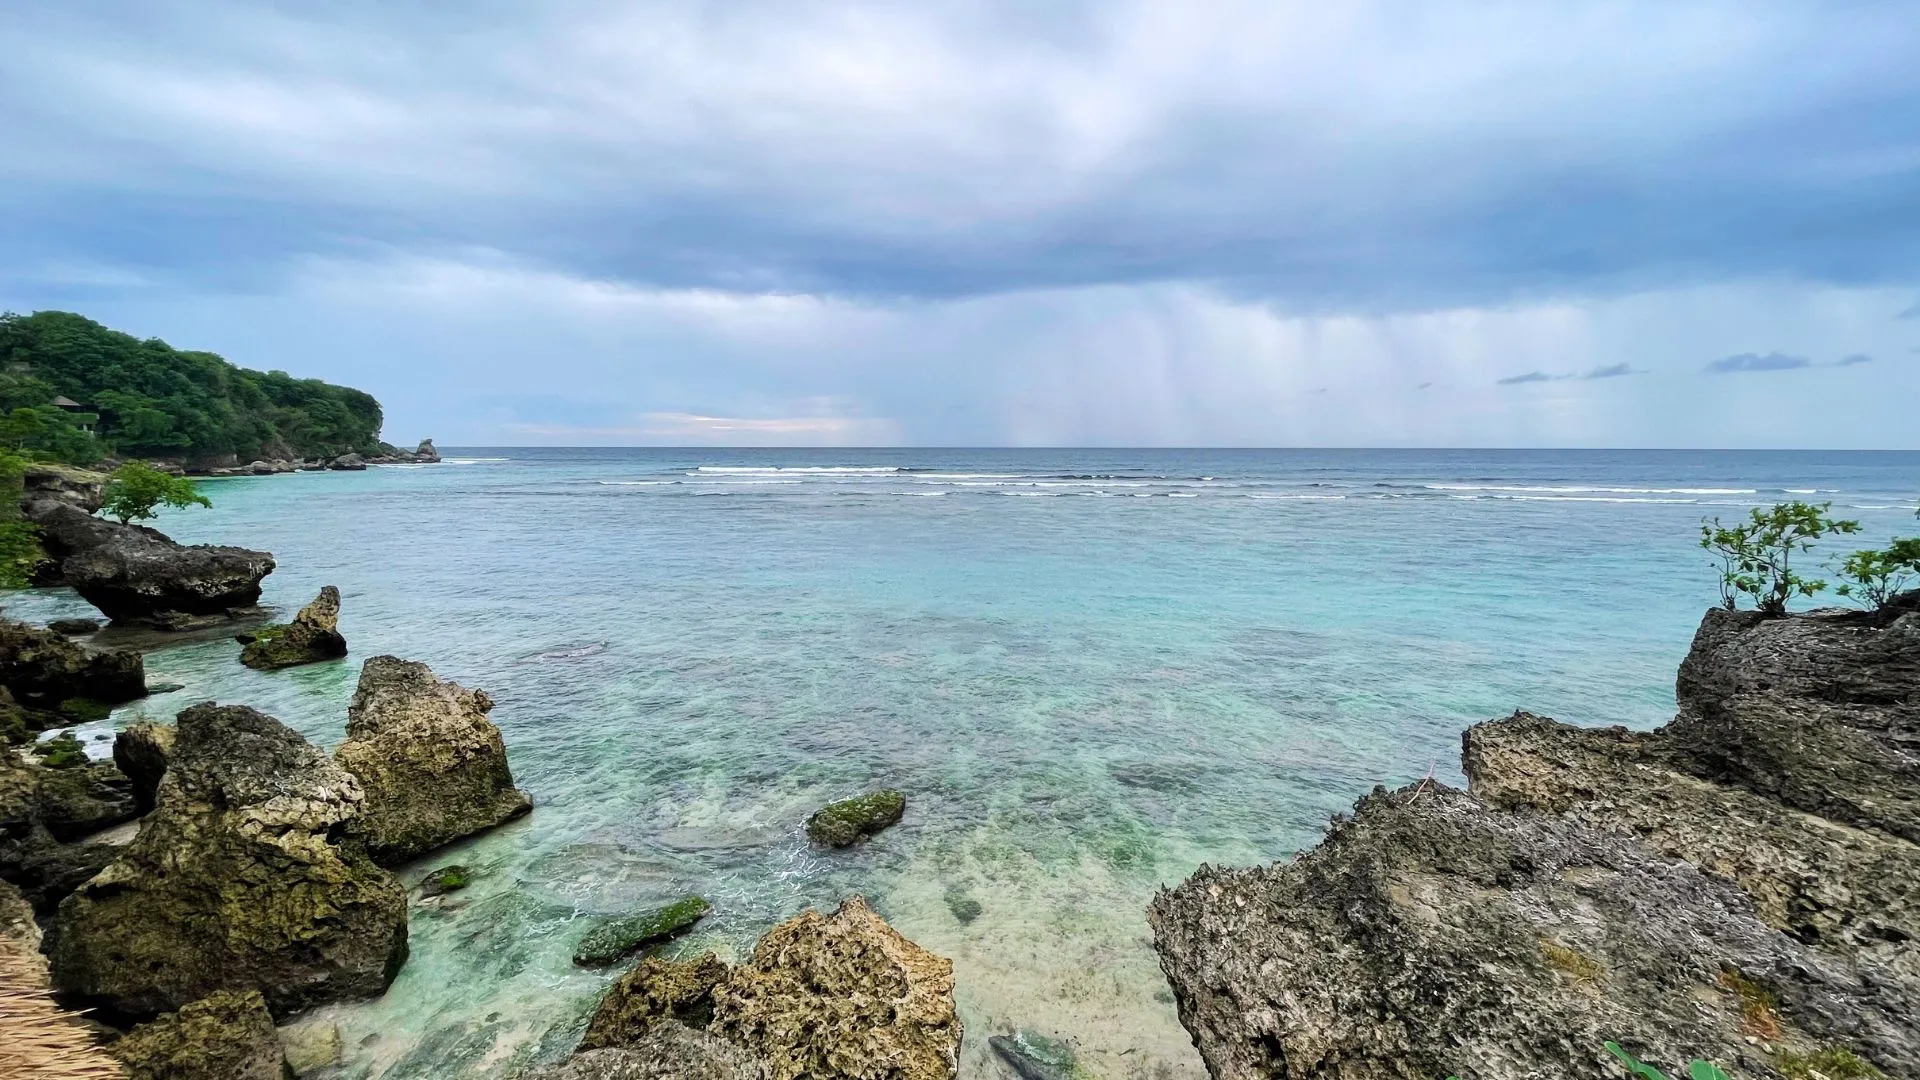
Other Article: Swapping Beaches for Mountain tops: A Chilly Christmas in Bromo

Essential Documents for Marrying in Denmark

All you need to submit to the Danish government are:

Photos of your passports

Yes, the Danish government prefers photos, not scans, so the details, including the holograms, are clear. They need pictures of all the pages, even the blank ones without stamps. Just a heads-up: they’re very specific about how the photos should be taken. They need natural light, all pages should be flat and clean, and no fingers should be holding the sides.

Schengen visa

If you need a Schengen visa to travel to the country, it’s best to apply well in advance to stay organised. Your application can’t be processed without it, and popular city halls like Copenhagen City Hall can get fully booked quickly.

P.s. They don’t mind which country you enter the Schengen area from, it doesn’t have to be Denmark. I entered through The Netherlands.

Relationship document

They basically want to make sure you’re in a genuine relationship and have actually met in person, not just in it for the spouse visa. You can put together a Power Point presentation with all your photos and milestones. Take screenshots from your phone with the metadata showing the dates the photos were taken. If you’re in a long-distance relationship and travel frequently to see each other, adding supporting documents like flight tickets can really strengthen your application.

Next stages

Now that the headachey part is done, you can just send everything over to the wedding agency and let them work their magic. The Danish government has a strict rule that they must approve or reject everything within five working days, so that part was quick. I’ll share more about the next steps in part 2 so you can have a break from reading and digest this information first. Stay tuned on Kata-bella.com! 😉

You might also want to read

Getting Married in Lovely Denmark: A Step-by-Step Guide (Part 2) Image

10 Jan 2025 by Bella in Info

Getting Married in Lovely Denmark: A Step-by-Step Guide (Part 2)

So you’re here because you’re either a mixed-nationality or mixed-religion couple looking for a way to get married without the endless paperwork headache, or you’ve already read my previous article, “Getting Married in Lovely Denmark: A Step-by-Step Guide (Part 1)” and you’re now ready for the next steps. Either way, welcome! The Next Steps After Document Submission Once the big admin work is done, the good news is that things get a lot simpler. All you need to do is wait patiently while the agent (Getting Married in Denmark) submits your application and receives your approval from the Danish government. When the approval comes in, you’ll be asked to choose the city hall for your ceremony. Here’s a friendly heads-up: popular venues like Copenhagen City Hall tend to be fully booked unless you secure a date months in advance. Our agent sent us several options; many of them incredibly charming, including a castle-like city hall in the countryside! We loved it, but since my in-laws were joining us, we chose Copenhagen for convenience. Once you’ve agreed on an available date, your agent will take care of the booking. Copenhagen City Hall, where I got married :) And Then What’s Next? After securing your date and venue, it basically turns into a mini wedding planning session (if you’re also hosting a reception). But if, like us, you’re simply going to sign papers and enjoy the moment, it feels more like planning a holiday with a sprinkle of romance hehe. Even though we only had a civil ceremony, I still prepared a dress and bouquet. If you don’t want the hassle of ordering flowers, Copenhagen City Hall rents bouquets - practical and stress-free! The agent can also recommend florists, photographers, and other vendors if you want extra help. They truly are a wedding one-stop-shop. Other Article: A Playful Stay in Copenhagen: My 25hours Hotel Experience Before Your Civil Ceremony You’ve made it to Copenhagen… now what? One day before your ceremony, you need to register you and your partner at the same city hall where the ceremony will take place. If you’re in Copenhagen, you’ll find the registration counter inside the little gift shop to the left of the main entrance. That’s where you check in and leave your passports. Don’t worry, they won’t keep them for long. They have a rule about not holding passports for more than a certain number of hours or something. While waiting, you’re free to wander around, grab an oh-so-good smørrebrød with fresh Scandi salmon, and treat yourself to a Danish pastry (or three! You go, friend!). By the time you’re done snacking, your passports will be ready, woot woot! :) Me and my best friend Deisha (husband is too shy to be on Kata Bella hehe) On Your Wedding Day “Follow the hearts!” That’s what the lady at the registration desk told us - and she meant it, literally. Heart stickers on the floor guide you to your room. Once you reach the end of the trail, wait there until someone comes down and calls your names. Then it’s time to say “I do!” I had a quick peek online at what the room looked like, but nothing prepared me for how beautiful it was. The murals felt straight out of a Hans Christian Andersen storybook, the kind I grew up reading. We were told they represent the journey of love from the first meeting to a shared life together. Speaking of Hans Christian Andersen, our celebrant ended our ceremony with a quote that has stayed with me ever since: “The whole world is a series of miracles, but we’re so used to them we call them ordinary things.” A Little Closing Note If you’re considering Denmark for your civil ceremony, take this as a sign: it’s worth it! The process is straightforward, the atmosphere feels magical without being stiff or formal, and the experience becomes a beautiful memory rather than a bureaucratic nightmare. If you love simple, meaningful moments (with the bonus of pastries and fairy-tale murals), Denmark might just be the perfect place to start your forever. Oh and by the way, congratulations on your engagement! And good luck!

How to Stay in Thailand Visa-Free for 90 Days Image

18 Feb 2026 by Bella in Asia

How to Stay in Thailand Visa-Free for 90 Days

If you’re Indonesian, you probably already know that Thailand is among the countries we can enter without a visa. But I only recently found out that not many people realise you can actually stay for a total of 90 days. You get 60 days visa-free when you first enter, and then you can apply for an extension at the local immigration office. At first, I thought I needed a visa agent because I’d never done anything like this before and was scared of getting rejected. But when I went to the immigration office in Chiang Mai for the first time, they happily explained the steps. It was surprisingly easy - and you can absolutely do it yourself. Check how many days you can stay in Thailand visa-free on Thai e-visa official website You may also like this article: A Guide to Doi Suthep Temple, Chiang Mai: 4 Things to Know The first 60 daysArriving in ThailandAfter your first 30 daysApplying for your extensionFinal Thoughts The first 60 days After checking several trusted official websites, the rule (at the time I’m writing this) hasn’t changed. Indonesians can enter Thailand visa-free and stay for 60 days, despite the uncertain news you might have seen on social media. What shocked me was that during check-in at Soekarno–Hatta, when I showed my return ticket, the staff questioned my 60-day stay - even the immigration officer seemed unsure. But don’t worry. If you’re ever in doubt, you can check the official Thai e-visa official website and enter your nationality (if you’re not Indonesian) to confirm whether you can enter visa-free and how long you’re allowed to stay. Fill in TDAC online before you fly Arriving in Thailand Don’t forget to fill in the TDAC (Thailand Digital Arrival Card) form before arriving in Thailand - you can do it a day before your trip to stay organised. In the form, you’ll be asked for your return flight details. When you’re in the immigration line, you just need to scan the barcode sent to your email. As long as you haven’t been going in and out of Thailand a suspicious number of times in the past few months, you should be fine. I landed at Suvarnabhumi Airport in Bangkok, and after scanning the QR code, they didn’t even ask me any questions. You may also like this article: What It’s Like to Live in Bali: Cost, Culture, and Everyday Life After your first 30 days Depending on where you’re staying in Thailand, you can look up the nearest immigration office. I was based in Chiang Mai, and the immigration office there is conveniently located inside a shopping mall called Central Festival Chiang Mai. After you’ve spent a month in the country, or basically before your 60 days run out, you can apply for a 30-day extension. Here’s what you’ll need: Applying for your extension It’s actually pretty straightforward once you have all your documents ready. You can show up during opening hours, but like most administrative offices, I’d suggest going early. I’m not sure about other cities, but in Chiang Mai they’re closed for lunch from 12–1pm. When I arrived, an officer checked our documents first. They’ll let you know if you’re missing anything or forgot to fill in a section. If everything’s in order, they’ll sign it off and give you a queue number. After that, you just sit inside and wait for your number to be called. When it’s your turn, hand over the checked documents and pay the 1,900 Baht fee in cash. Then you wait another 15–30 minutes (depending on how busy it is). Your name will be called, they’ll take a quick photo of you, and hand back your passport with a new stamp giving you another 30 days to stay in this beautiful country. In my personal experience, I wasn’t asked a single question, and the staff were actually pretty nice - you know how immigration offices can sometimes feel a bit intimidating? Anyway, that’s it. The whole process was done in one day, which was great and super efficient. Final Thoughts So yes, staying in Thailand visa-free for 90 days is completely doable for Indonesians and many other nationalities, and you don’t need an agent to make it happen. It might feel intimidating at first (especially with all the mixed information online), but once you understand the steps, it’s actually very manageable. My biggest tips are to double-check official sources, prepare your documents properly, and go early to the immigration office. That’s really it. Hope you find this article useful and happy holiday! 

5 Co-working Spaces in Jogja to Get Things Done Image

12 Apr 2026 by Bella in Info

5 Co-working Spaces in Jogja to Get Things Done

I was in Jogja visiting my parents, and while their house is nice (and rent-free, with three free meals a day, hehe), I still prefer working in a proper work setup; less distractions, more focus, proper chair for your back. So I ended up trying a few spots around the city which I was surprised are very affordable, and I put together this list, so you don’t have to go through the hassle of checking and contacting them one by one. Ps. A little bonus fun fact in case you didn't know, Jogja has a free public wi-fi network called "Jogja Istimewa" that you can connect to around the city, super handy if you ever need a quick connection on the go. Based on my experience, the connection is quite decent, though at my parents’ house it tends to be faster at night. Pps. You’re welcome 😉 KLA Co-working SpaceCreative HubGenius IdeaCrônica Creative Working SpaceAntologi Collaborative Space You may also like this article: Lokananta - Why This Musical Landmark is a Must-Visit in Solo KLA Co-working Space Don’t panic when you walk in and it looks like a computer shop - because it is, lol. The coworking space is on the second floor. You just need to order coffee or snacks from their little stall to use the space. It’s nice and bright, with plenty of tables and easily accessible plugs. There are also booths with more comfortable chairs, shared tables, as well as private meeting rooms you can book in advance. The internet is good enough, and when I was there, most people were university students studying or working on assignments, so it was chill and quiet. Image credit: KLA Google page 💰 Price: From IDR 20K (for coffee) ⏰ Opening Hours: Monday to Sunday, 9am-8.30pm 📍 Address: Jl. Prof. Dr. Ir. Herman Johannes Jl. Sagan No.73, Samirono,Caturtunggal, Yogyakarta 55223 Creative Hub They have a few branches across Jogja, but I’ve only been to the one in Gejayan. I needed to work on a Sunday and it was the only location open (remote work comes with flexibility, but also means work can show up anytime lol). Since it was Sunday, it was just me and one other person in the whole coworking space. There’s a café where you can order drinks and snacks, and the overall ambience was good. Image credit: Creative Hub Google page 💰 Price: 20K (half day day), 40K (full day) ⏰ Opening Hours: Monday to Sunday, 8am-9pm 📍 Address: The Jayan Building, 1st Floor The Jayan Building, Jl. Affandi No.4 Lt. 1, Gejayan, Condongcatur, Yogyakarta 55281 (Check their website or Instagram for other locations and opening hours) You may also like this article: Goolali Gelato Bar & Pâtisserie - Semarang’s Sweetest Escape Genius Idea I booked a private room at Genius Idea once because I had a few online meetings that day. It’s only IDR 150K for a full day for a small room that fits up to 5 people. You can also book it for half a day for 75K, but I figured I’d just have the whole space to myself to finish my deadlines. They have quite a few rooms, a pantry on the first floor, plus free coffee and tea. It’s more of a focused office space, so there’s no café inside, but you can order food online. There’s also an outdoor area and some sofas in the hallway where you can eat or take a break. Image credit: Genius Idea Google page 💰 Price: 75K/ day (plus tax) ⏰ Opening Hours: Monday to Friday, 8am-6pm 📍 Address: Jl. Magelang No.32-34, Cokrodiningratan, Jetis, Yogyakarta 55233 Crônica Creative Working Space This co-working space is perfect for those days when work is a bit lighter. The setup is more relaxed, maybe good for a research day or wrapping up the last few emails on a Friday, since the tables and chairs aren’t very office-like. The vibe is also more chill café than quiet workspace. If you need privacy for important calls, they have a phone booth available upstairs for IDR 50K for 5 hours, but you need to book in advance. Other than that, the space is free to use as long as you order coffee or food from the café. The only downside is that not every table has access to a plug, so you will need to take turns with people nearby. Image credit: Crônica Google page 💰 Price: From 20K (for coffee) ⏰ Opening Hours: Monday to Sunday, 7am-10pm 📍 Address: Jl. A.M. Sangaji No.62 Lt. 02, Cokrodiningratan, Jetis, Yogyakarta 55233 Antologi Collaborative Space It’s under the same management as Crônica, and the staff recommended this space to me. I haven’t had the chance to visit yet, but thought I’d add it to the list so you’ve got more options. Aside from the co-working space, there’s also a café, an event space, and even a garden area. Membership is pretty affordable too, starting from just 45K a day. Image credit: Antologi Google page 💰 Price: IDR 45K (daily), 175K (weekly), 599K (monthly)  ⏰ Opening Hours: Monday to Sunday, 7am-10pm 📍 Address: Tawangsari CT II Gg. Gayamsari II No.9C, Karang Wuni, Caturtunggal, Kec. Depok, Kabupaten Sleman, Yogyakarta 55281 Whether you’re in Jogja for a quick visit or staying a little longer, there are plenty of spots to get work done. Each place has its own vibe; some more focused, some more laid-back, so it really depends on what kind of workday you’re after. Also, don’t be alarmed when locals say “it’s so far from here”, because most of the time…it really isn’t, hehe. Especially if you’re from Jakarta or other big cities, a 10 to 30-minute commute is basically nothing, right? hehe. Anyway, enjoy your work-holiday in Jogja, and don’t forget to explore and eat lots of delicious food after work!