Kata Bella Logo

Info

Creative Connections: 5 Bali-based Illustrators and Designers

16 Mar 2026 by Bella

Creative Connections: 5 Bali-based Illustrators and Designers Image

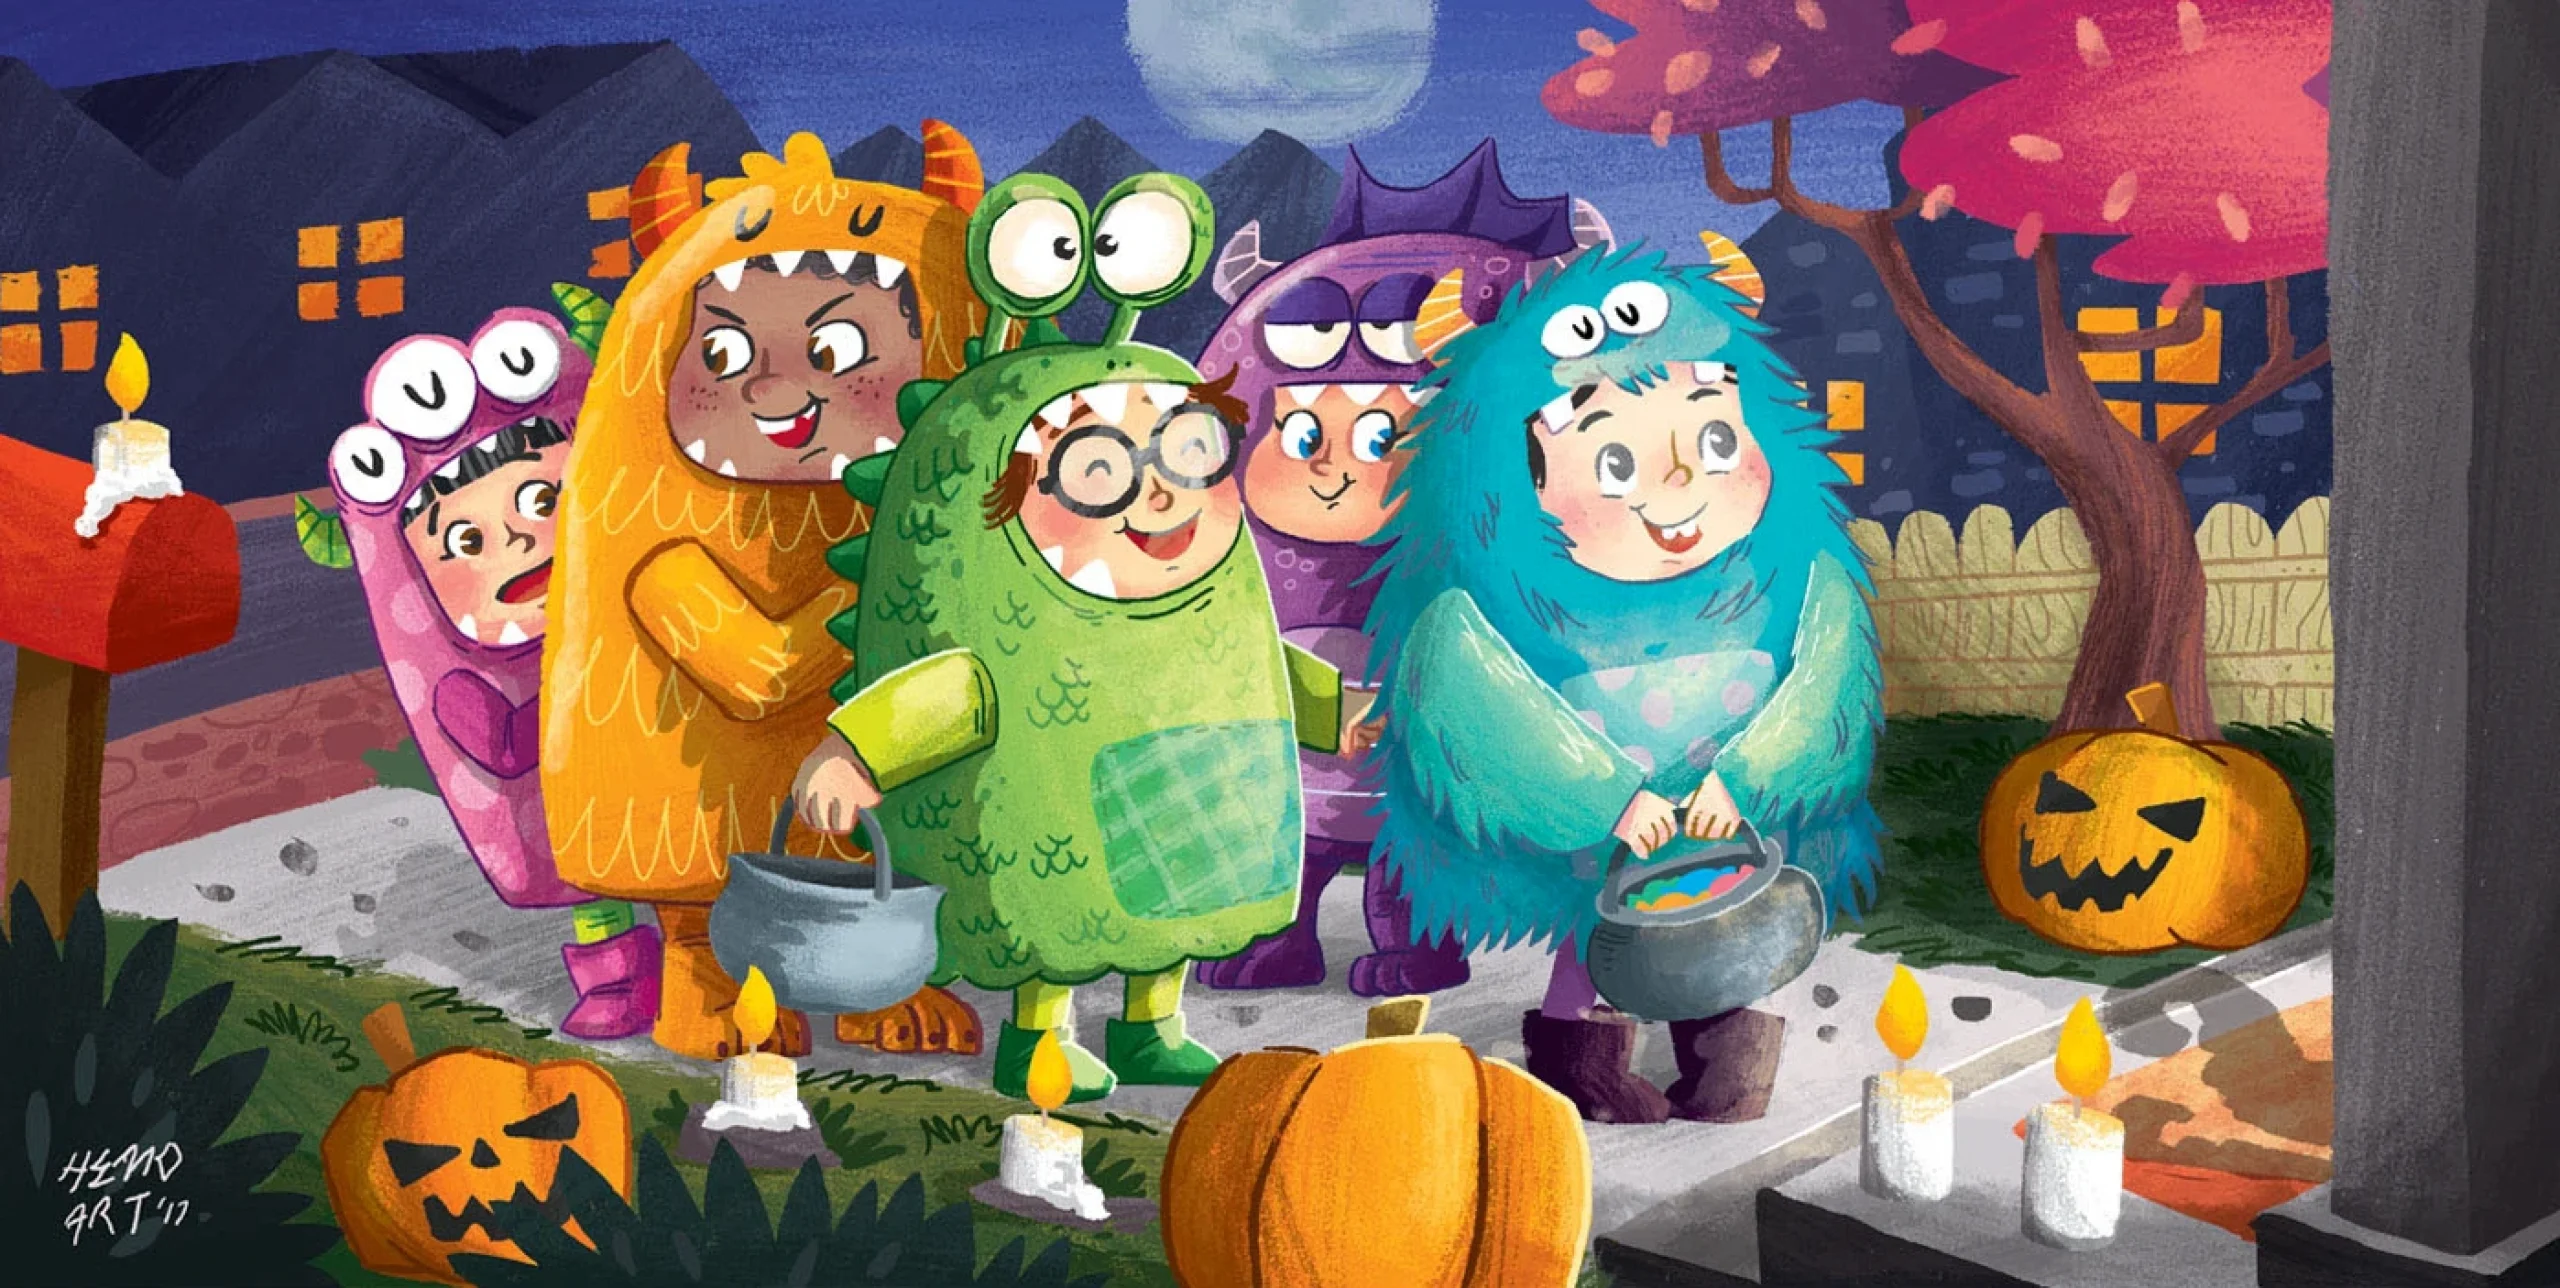
(Main image by Hemo Art)

“Bells, do you know any freelancers who can help me with a design?

Aside from “Where’s your favourite bakery to go for scones?” – this is probably one of the most common questions I get from friends (knowing I work in the creative field). Lucky for you, I do know some talented folks, but it really depends on what you’re after. A logo? Branding services? Graphic design? Product design? Illustrations? Let me help you out! 

Hemo Art

The world of Hemo Art is imaginative, whimsical, and full of personality. Their work screams fun, colourful, and cute, with a signature style featuring quirky monster characters you can’t help but love. Illustration is their strong suit, making them a perfect fit if you’re looking to build a brand, create a children’s storybook, or design playful packaging. 

👩🏻‍🎨 Specialty: Illustration and children story books
🎨 Portfolio: www.behance.net/hemo-art
📱 Instagram: @hemo.art

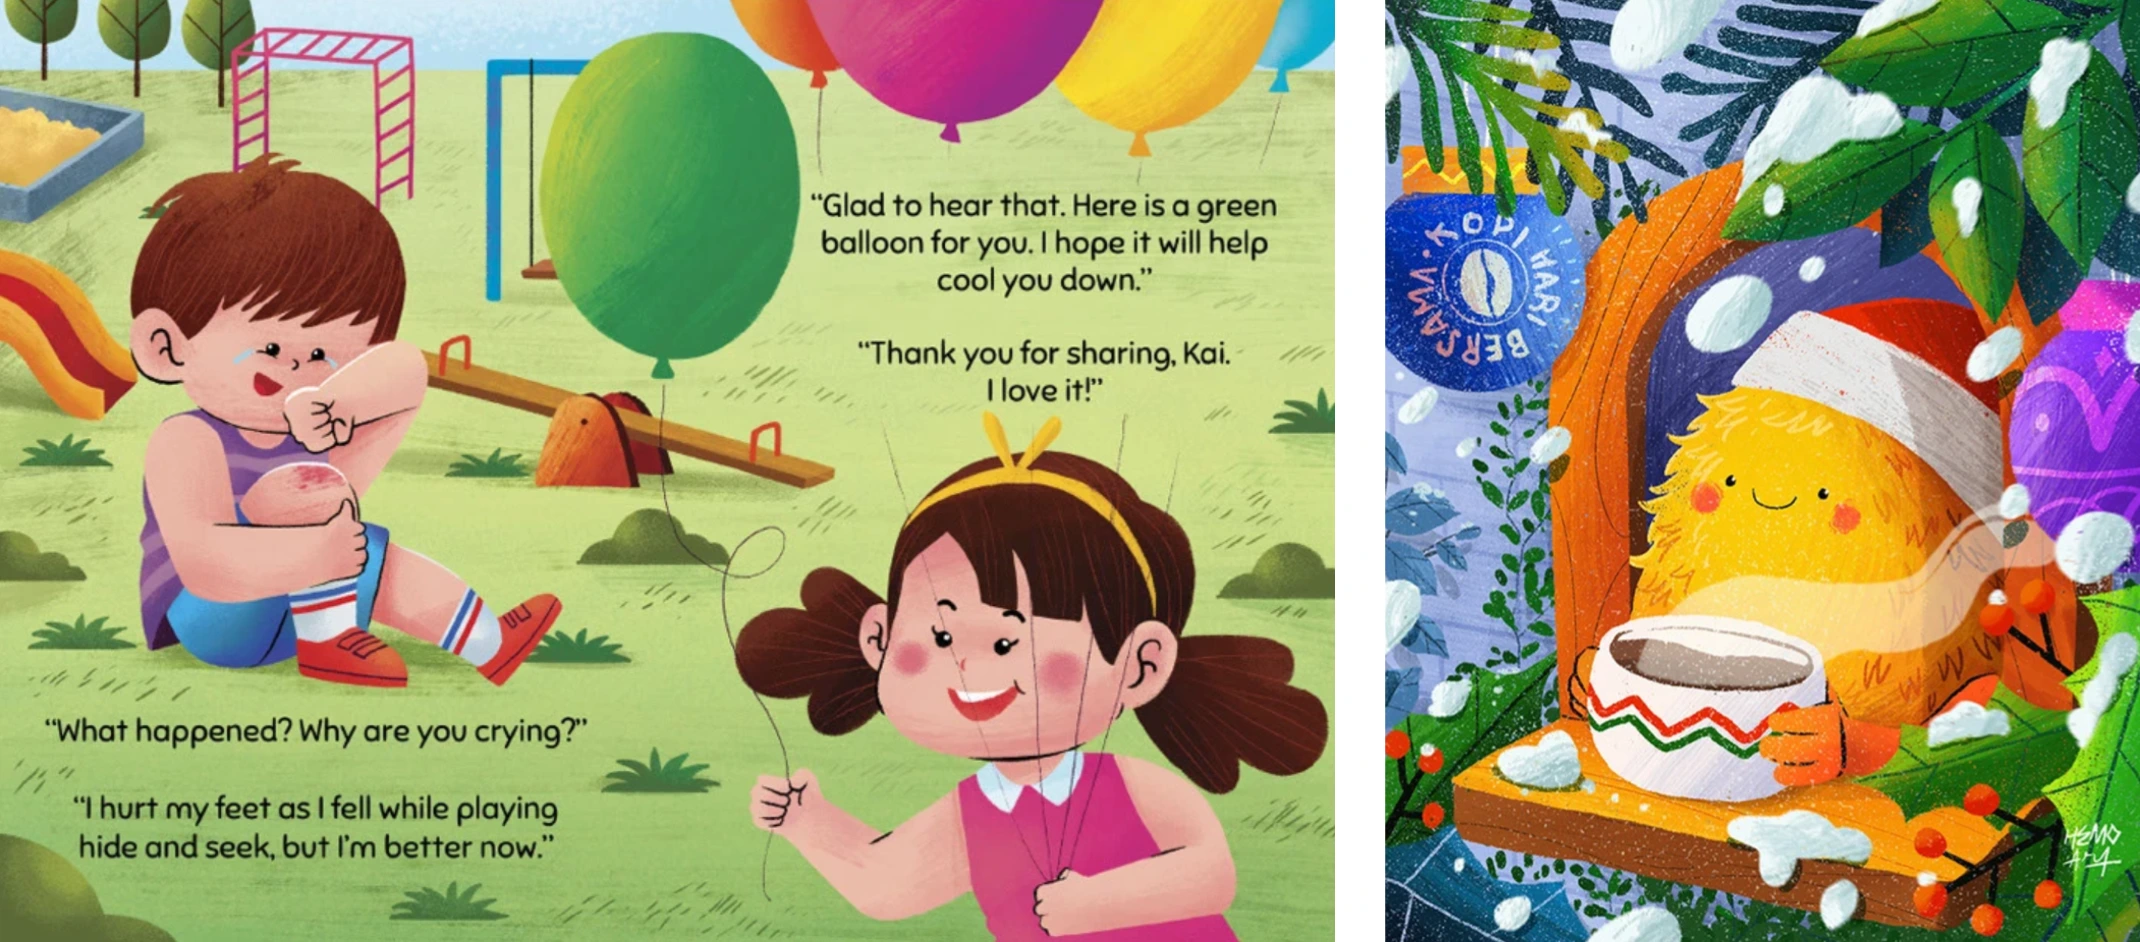
Playful, imaginative, and cheerful, Hemo Art is perfect for kids projects

Clara Claudia Safista

Clara is a multi-talented artist with a diverse skill set. She helps brands grow through brand identity development, logo creation, digital and printed collaterals, vector work and illustrations, as well as technical packs for the fashion industry. Bonus point: She’s also an absolute sweetheart, making every collaboration feel easy and enjoyable.

👩🏻‍🎨 Specialty: Illustration and graphic design
🎨 Portfolio: https://claraclaudiakeke.myportfolio.com/
📱 Instagram: @claraclaudia.14 

If you’re starting a business, Clara can translate your vision into a brand kit

You may also like this article: The Vibrant Journey of Xoxo Bali – 2024 local shop guide

Finda Ayu

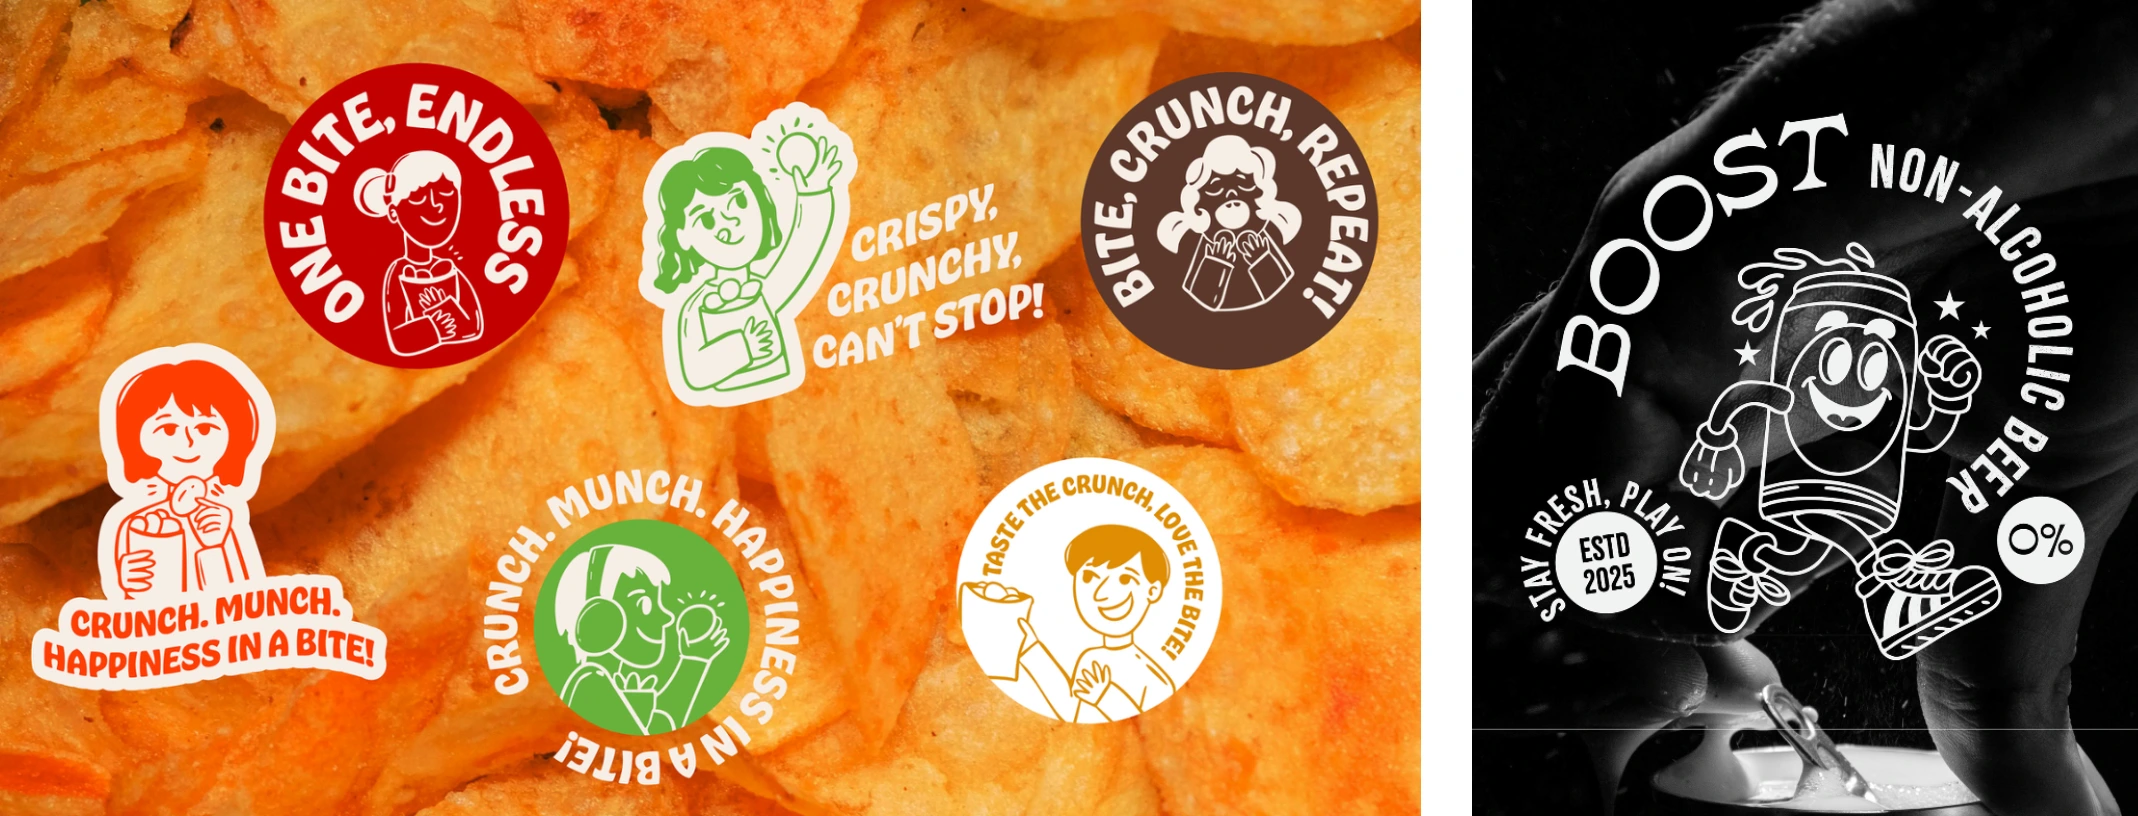
If you don’t know already, Finda Ayu is the creative mind behind Bali’s vibrant merchandise brand, Xoxo Bali. If you head over to their page, you’ll quickly get a sense of her illustration style and visual identity. While her main work lies in product design, she’s also highly versatile and can adapt to whatever you need on the graphic design side – from social media content and promotional materials to branding assets, packaging, and more.

👩🏻‍🎨 Specialty: Illustration, product design, and graphic design
🎨 Portfolio: https://www.behance.net/findaayu
📱 Instagram: @xoxobali

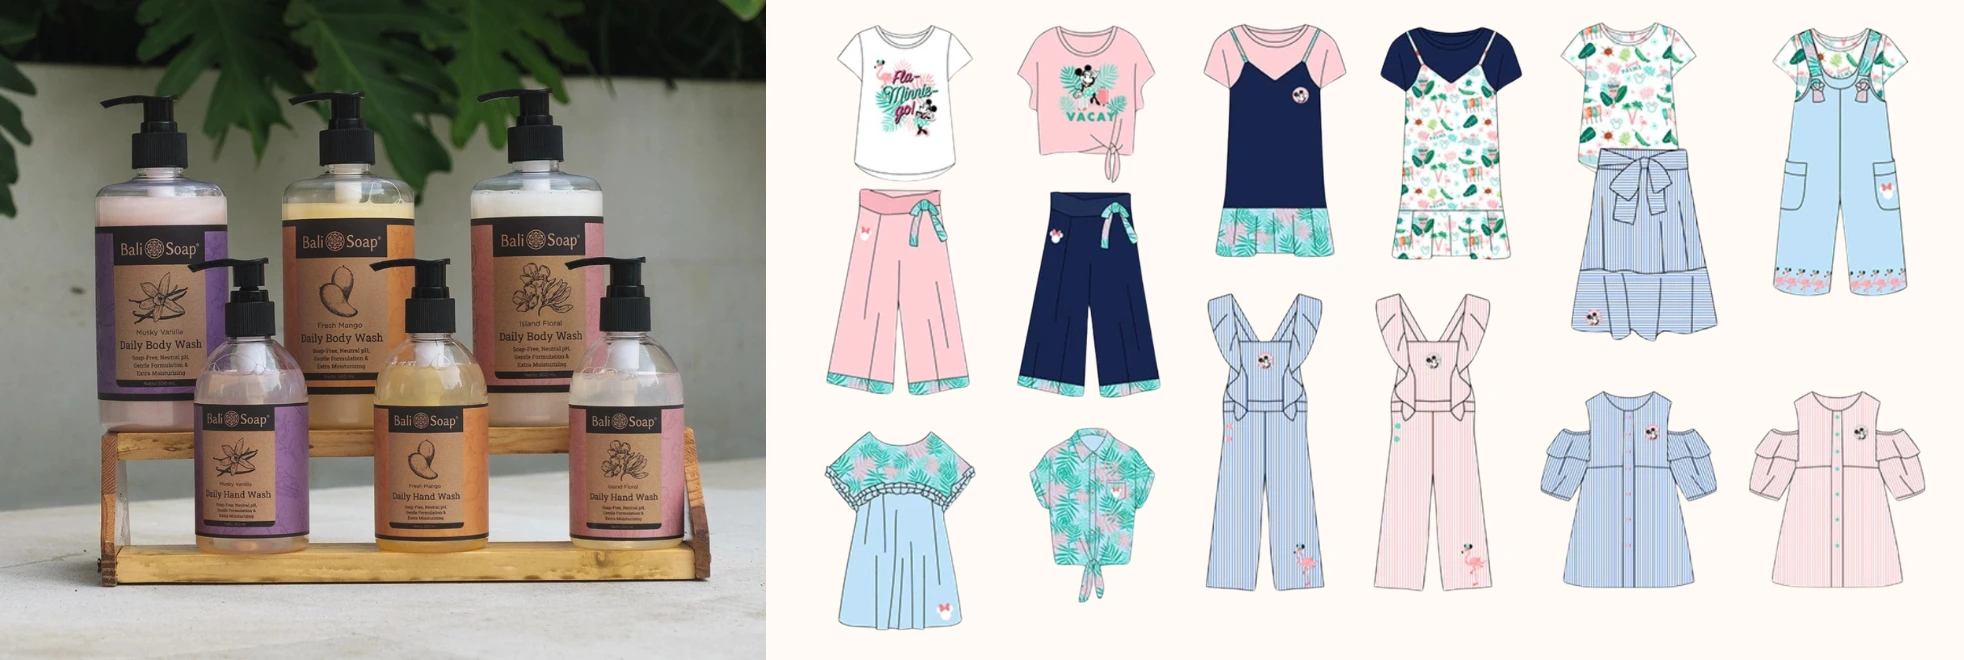
Finda has collaborated with various big brands like Disney, Surfer Girl, and Bali Soap

Kumonjia

Their main work is illustration, known for a soft watercolour style, but they can actually adapt to all kinds of visual directions- from cute and playful to clean and corporate. They also handle brand kits if you’re starting a business, photography, motion graphics, promotional materials, menu design, product design, and more. Basically, whatever style or creative support you need, Kumonjia delivers.

👩🏻‍🎨 Specialty: Illustration and graphic design
🎨 Portfolio: https://kumonjia.myportfolio.com/illustration
📱 Instagram: @kumonjia

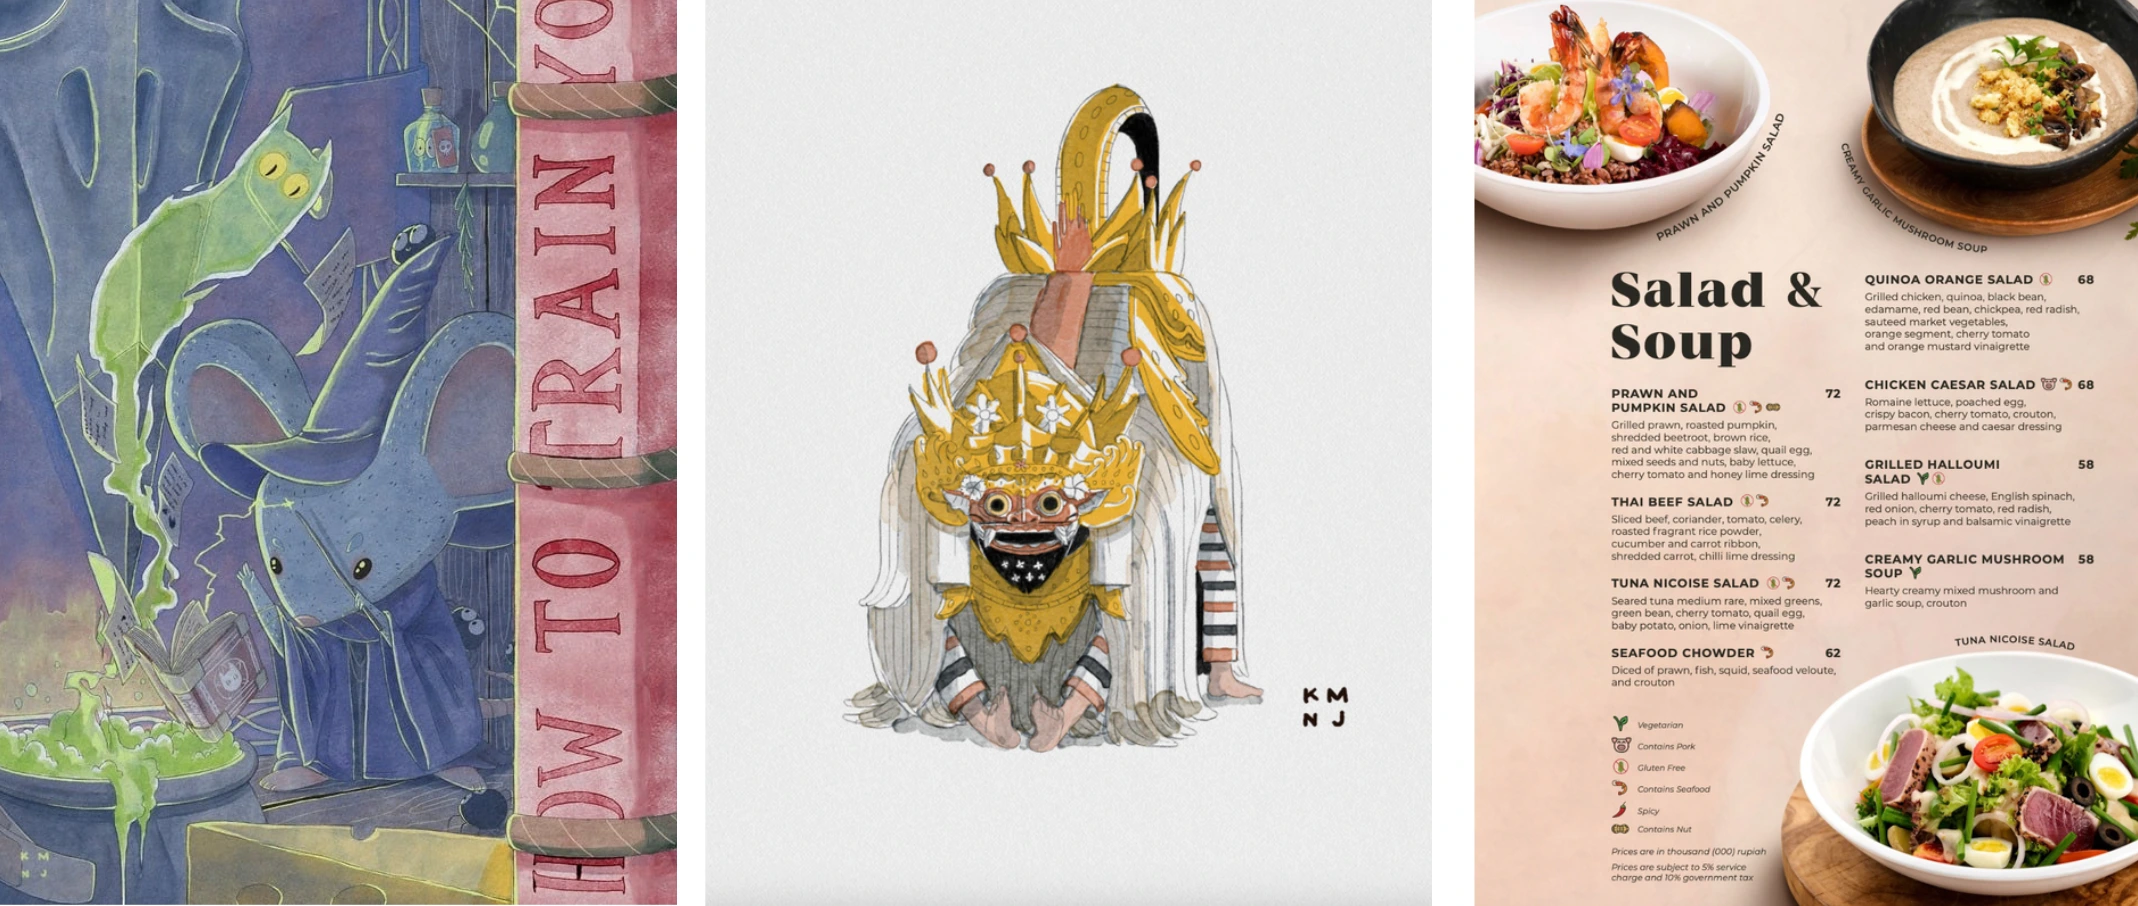
From passion projects to corporate briefs, Kumonjia can adapt effortlessly

Bunny 

Bunny works on her personal project Bunny Bone – a collection of reflections about herself, women, and Indonesia’s culture and people, which she deeply loves. The works are mostly acrylic paintings for now. More recently, she’s also been developing Bunny Jitsu, a jiu jitsu-inspired art project featuring digital art, oil pastel drawings, and merchandise.So if you’re looking for acrylic projects or jiu jitsu-inspired commission work, from merchandise to murals, she’s your girl. 

Ps. She is also the founder of Rumah Rabbit Bali, an art space dedicated to creativity and playful learning.

👩🏻‍🎨 Specialty: acrylic painting, oil pastel drawing, digital art
🎨 Portfolio: Check out her works on Instagram
📱 Instagram: @bunnybone, @bunnyjitsu, @rumahrabbitbali

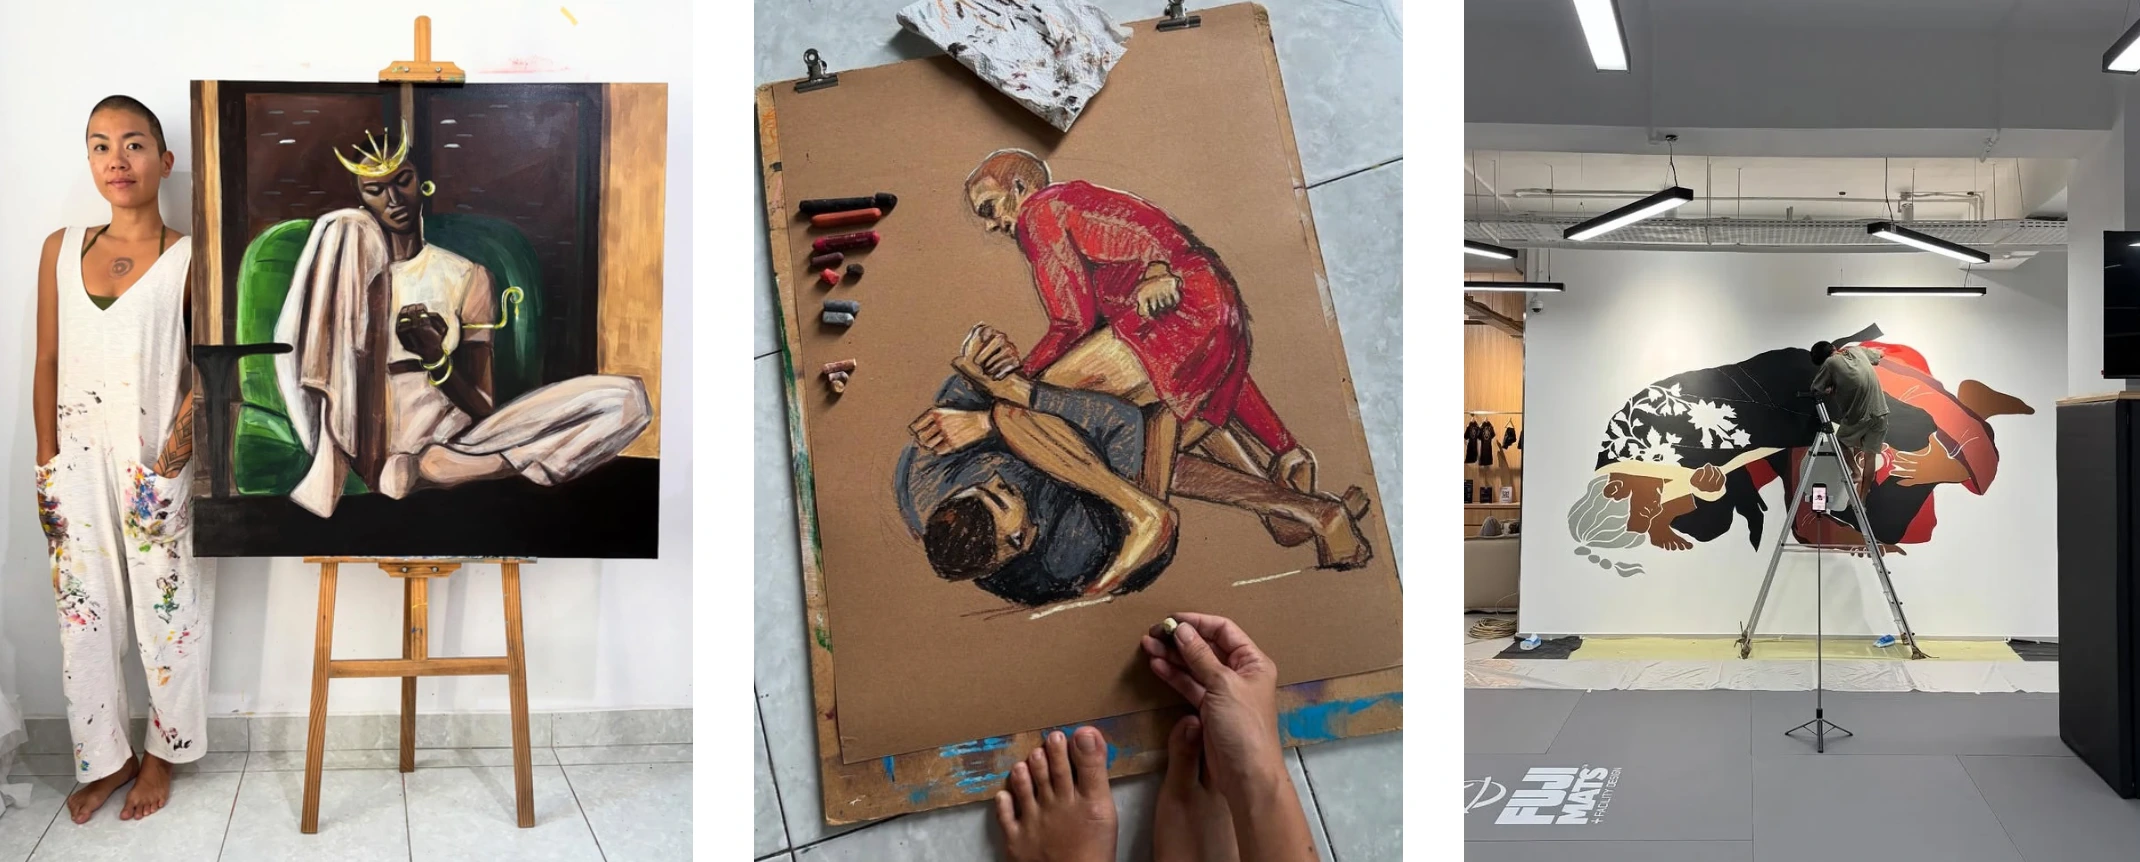
Some of Bunny’s recent work includes a mural at a new jiu jitsu gym in Jakarta

You may also like this article: Things to do in Bali: Fun Art Classes at Rumah Rabbit

And there you have it – talented creatives from Bali who are definitely worth keeping on your radar. Whether you’re building a brand, working on a passion project, or simply need a fresh visual touch, these lovely humans might just be the collaborators you’re looking for. If their work speaks to you, don’t hesitate to reach out and say hello. Who knows, it might just be the beginning of a beautiful creative partnership. Hope you find this useful, and thank you for reading! 😊

You might also want to read

Getting Married in Lovely Denmark: A Step-by-Step Guide (Part 2) Image

10 Jan 2025 by Bella in Info

Getting Married in Lovely Denmark: A Step-by-Step Guide (Part 2)

So you’re here because you’re either a mixed-nationality or mixed-religion couple looking for a way to get married without the endless paperwork headache, or you’ve already read my previous article, “Getting Married in Lovely Denmark: A Step-by-Step Guide (Part 1)” and you’re now ready for the next steps. Either way, welcome! The Next Steps After Document Submission Once the big admin work is done, the good news is that things get a lot simpler. All you need to do is wait patiently while the agent (Getting Married in Denmark) submits your application and receives your approval from the Danish government. When the approval comes in, you’ll be asked to choose the city hall for your ceremony. Here’s a friendly heads-up: popular venues like Copenhagen City Hall tend to be fully booked unless you secure a date months in advance. Our agent sent us several options; many of them incredibly charming, including a castle-like city hall in the countryside! We loved it, but since my in-laws were joining us, we chose Copenhagen for convenience. Once you’ve agreed on an available date, your agent will take care of the booking. Copenhagen City Hall, where I got married :) And Then What’s Next? After securing your date and venue, it basically turns into a mini wedding planning session (if you’re also hosting a reception). But if, like us, you’re simply going to sign papers and enjoy the moment, it feels more like planning a holiday with a sprinkle of romance hehe. Even though we only had a civil ceremony, I still prepared a dress and bouquet. If you don’t want the hassle of ordering flowers, Copenhagen City Hall rents bouquets - practical and stress-free! The agent can also recommend florists, photographers, and other vendors if you want extra help. They truly are a wedding one-stop-shop. Other Article: A Playful Stay in Copenhagen: My 25hours Hotel Experience Before Your Civil Ceremony You’ve made it to Copenhagen… now what? One day before your ceremony, you need to register you and your partner at the same city hall where the ceremony will take place. If you’re in Copenhagen, you’ll find the registration counter inside the little gift shop to the left of the main entrance. That’s where you check in and leave your passports. Don’t worry, they won’t keep them for long. They have a rule about not holding passports for more than a certain number of hours or something. While waiting, you’re free to wander around, grab an oh-so-good smørrebrød with fresh Scandi salmon, and treat yourself to a Danish pastry (or three! You go, friend!). By the time you’re done snacking, your passports will be ready, woot woot! :) Me and my best friend Deisha (husband is too shy to be on Kata Bella hehe) On Your Wedding Day “Follow the hearts!” That’s what the lady at the registration desk told us - and she meant it, literally. Heart stickers on the floor guide you to your room. Once you reach the end of the trail, wait there until someone comes down and calls your names. Then it’s time to say “I do!” I had a quick peek online at what the room looked like, but nothing prepared me for how beautiful it was. The murals felt straight out of a Hans Christian Andersen storybook, the kind I grew up reading. We were told they represent the journey of love from the first meeting to a shared life together. Speaking of Hans Christian Andersen, our celebrant ended our ceremony with a quote that has stayed with me ever since: “The whole world is a series of miracles, but we’re so used to them we call them ordinary things.” A Little Closing Note If you’re considering Denmark for your civil ceremony, take this as a sign: it’s worth it! The process is straightforward, the atmosphere feels magical without being stiff or formal, and the experience becomes a beautiful memory rather than a bureaucratic nightmare. If you love simple, meaningful moments (with the bonus of pastries and fairy-tale murals), Denmark might just be the perfect place to start your forever. Oh and by the way, congratulations on your engagement! And good luck!

How to Stay in Thailand Visa-Free for 90 Days Image

18 Feb 2026 by Bella in Asia

How to Stay in Thailand Visa-Free for 90 Days

If you’re Indonesian, you probably already know that Thailand is among the countries we can enter without a visa. But I only recently found out that not many people realise you can actually stay for a total of 90 days. You get 60 days visa-free when you first enter, and then you can apply for an extension at the local immigration office. At first, I thought I needed a visa agent because I’d never done anything like this before and was scared of getting rejected. But when I went to the immigration office in Chiang Mai for the first time, they happily explained the steps. It was surprisingly easy - and you can absolutely do it yourself. Check how many days you can stay in Thailand visa-free on Thai e-visa official website You may also like this article: A Guide to Doi Suthep Temple, Chiang Mai: 4 Things to Know The first 60 daysArriving in ThailandAfter your first 30 daysApplying for your extensionFinal Thoughts The first 60 days After checking several trusted official websites, the rule (at the time I’m writing this) hasn’t changed. Indonesians can enter Thailand visa-free and stay for 60 days, despite the uncertain news you might have seen on social media. What shocked me was that during check-in at Soekarno–Hatta, when I showed my return ticket, the staff questioned my 60-day stay - even the immigration officer seemed unsure. But don’t worry. If you’re ever in doubt, you can check the official Thai e-visa official website and enter your nationality (if you’re not Indonesian) to confirm whether you can enter visa-free and how long you’re allowed to stay. Fill in TDAC online before you fly Arriving in Thailand Don’t forget to fill in the TDAC (Thailand Digital Arrival Card) form before arriving in Thailand - you can do it a day before your trip to stay organised. In the form, you’ll be asked for your return flight details. When you’re in the immigration line, you just need to scan the barcode sent to your email. As long as you haven’t been going in and out of Thailand a suspicious number of times in the past few months, you should be fine. I landed at Suvarnabhumi Airport in Bangkok, and after scanning the QR code, they didn’t even ask me any questions. You may also like this article: What It’s Like to Live in Bali: Cost, Culture, and Everyday Life After your first 30 days Depending on where you’re staying in Thailand, you can look up the nearest immigration office. I was based in Chiang Mai, and the immigration office there is conveniently located inside a shopping mall called Central Festival Chiang Mai. After you’ve spent a month in the country, or basically before your 60 days run out, you can apply for a 30-day extension. Here’s what you’ll need: Applying for your extension It’s actually pretty straightforward once you have all your documents ready. You can show up during opening hours, but like most administrative offices, I’d suggest going early. I’m not sure about other cities, but in Chiang Mai they’re closed for lunch from 12–1pm. When I arrived, an officer checked our documents first. They’ll let you know if you’re missing anything or forgot to fill in a section. If everything’s in order, they’ll sign it off and give you a queue number. After that, you just sit inside and wait for your number to be called. When it’s your turn, hand over the checked documents and pay the 1,900 Baht fee in cash. Then you wait another 15–30 minutes (depending on how busy it is). Your name will be called, they’ll take a quick photo of you, and hand back your passport with a new stamp giving you another 30 days to stay in this beautiful country. In my personal experience, I wasn’t asked a single question, and the staff were actually pretty nice - you know how immigration offices can sometimes feel a bit intimidating? Anyway, that’s it. The whole process was done in one day, which was great and super efficient. Final Thoughts So yes, staying in Thailand visa-free for 90 days is completely doable for Indonesians and many other nationalities, and you don’t need an agent to make it happen. It might feel intimidating at first (especially with all the mixed information online), but once you understand the steps, it’s actually very manageable. My biggest tips are to double-check official sources, prepare your documents properly, and go early to the immigration office. That’s really it. Hope you find this article useful and happy holiday! 

Getting Married in Lovely Denmark: A Step-by-Step Guide (Part 1) Image

31 Dec 2024 by Bella in Info

Getting Married in Lovely Denmark: A Step-by-Step Guide (Part 1)

The Background Story Getting married in lovely Denmark, Why Not? I married my best friend a couple of months ago in the beautiful city of Copenhagen. As soon as I shared the happy news on Instagram, my DMs were flooded with congratulatory messages - as well as tons of questions haha! Since I’m not super active on my personal account, except when I travel, my 10 million followers were like, “Wait, I didn’t even know you had a boyfriend, and all of a sudden you’re married?!”. And among the most FAQs were: "Why Copenhagen?” “Is your husband Danish?” “Why not in Indonesia?” With “WHY COPENHAGEN?” being the top question lol. So, I thought I’d share some details about why we chose Copenhagen and how to get married there, especially for other mixed-nationality and mixed-religion couples (because, yes, sadly, it’s still a challenge in Indonesia when you’re of different faiths) - so here we go. Other Article: Koyotake Ramen: Best Homemade Ramen in Yogyakarta | Home-Cooked Bowls of Love Why Married in Copenhagen  The Danish government has a super liberal approach to marriage laws, allowing anyone from any country to legally get married there. If you need a visa to enter Schengen countries, a standard tourist visa will do. And if you’re one of the lucky ones who don’t need a visa, all you need is your passport - easy peasy lemon squeezy! We ruled out Indonesia because the paperwork is just way too complicated. As for the UK, where my husband is from, that was also no-go. Getting married there would require a fiancé visa, which is not only pricey but also takes ages to process. We actually found out about Copenhagen from an article my mother-in-law sent us on WhatsApp. And, in true Gemini fashion, I impulsively said, “Let’s do it!” - so we did. We worked with www.gettingmarriedindenmark.com, they are superstars! The Wedding Agency in Denmark Since we're not exactly fans of admin work and are super busy with  work and daily jiu-jitsu training, we decided to hire an agency for the convenience, time-saving benefits, and better chances of approval (since they know what they’re doing!). We worked with Getting Married in Denmark. All we had to do was send one email, and they were incredibly responsive. They even scheduled a video call to walk us through everything in detail. They took care of all our paperwork, making sure it met the Danish government’s standards, submitted everything on our behalf, and even booked our chosen city hall for the ceremony. They also offer other services, like document apostille, hair and makeup, flowers, etc. Basically, you can tailor everything to your preferences and needs. But since we were aiming for a super simple ceremony, we didn’t need any of those extras. Other Article: Swapping Beaches for Mountain tops: A Chilly Christmas in Bromo Essential Documents for Marrying in Denmark All you need to submit to the Danish government are: Photos of your passports Yes, the Danish government prefers photos, not scans, so the details, including the holograms, are clear. They need pictures of all the pages, even the blank ones without stamps. Just a heads-up: they’re very specific about how the photos should be taken. They need natural light, all pages should be flat and clean, and no fingers should be holding the sides. Schengen visa If you need a Schengen visa to travel to the country, it's best to apply well in advance to stay organised. Your application can’t be processed without it, and popular city halls like Copenhagen City Hall can get fully booked quickly. P.s. They don’t mind which country you enter the Schengen area from, it doesn’t have to be Denmark. I entered through The Netherlands. Relationship document They basically want to make sure you're in a genuine relationship and have actually met in person, not just in it for the spouse visa. You can put together a Power Point presentation with all your photos and milestones. Take screenshots from your phone with the metadata showing the dates the photos were taken. If you're in a long-distance relationship and travel frequently to see each other, adding supporting documents like flight tickets can really strengthen your application. Next stages Now that the headachey part is done, you can just send everything over to the wedding agency and let them work their magic. The Danish government has a strict rule that they must approve or reject everything within five working days, so that part was quick. I'll share more about the next steps in part 2 so you can have a break from reading and digest this information first. Stay tuned on Kata-bella.com! ;)